Create a new client
The Client Inception workflow enables you to record extra information
over and above that which is required when creating a client using the
standard PMS functionality. The additional steps have been pre-defined
by Advanced, but they
can be customised
to your own requirements. Here's a step-by-step guide to what's involved.
Important
Make sure the Create Client workflow is attached to the Create Client
Workflow system parameter before proceeding. Without this, the Client
Inception workflow will not start.
To
create a new client:
- In PMS,
click Add New Client.
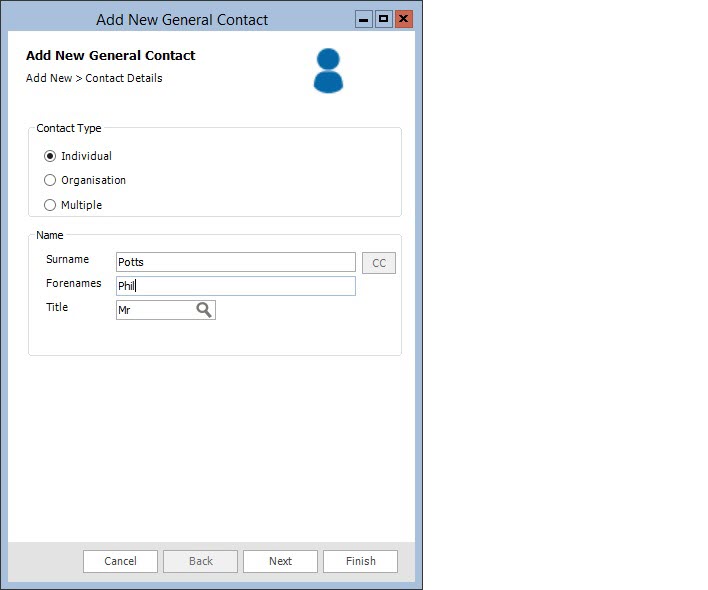
- When the Add
New General Contact dialog box opens, complete the required
details, using Next to move
between tasks.
- If you want to add a single
person, select Individual.
This is standard ALB
functionality.
- If you want to add a company,
select Organisation. This
is standard ALB
functionality.
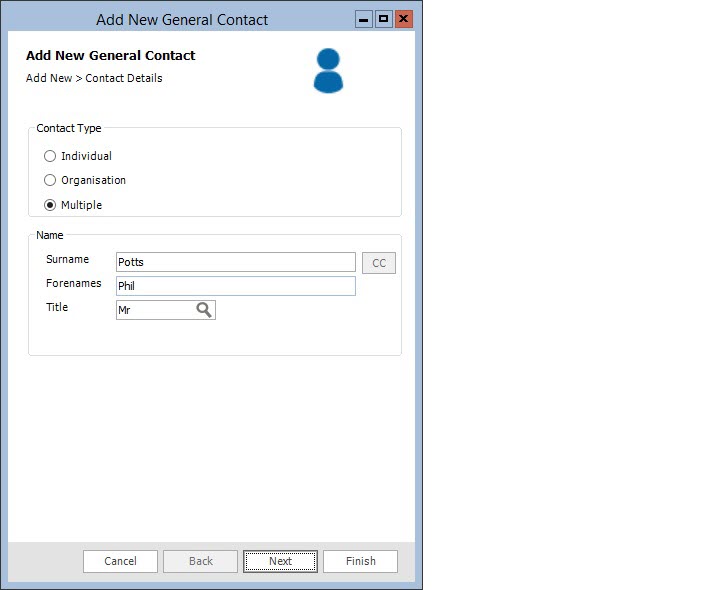
- If you want to add a joint
client, select Multiple.
This option is only available when using the Client Inception
workflow. For more information, please refer to creating
joint clients below.
Fig.
Add New General Contact dialog box
- Click Finish.
The Conflict Check automatically triggers, presenting you with possible
matches and/or conflicts.
- Check the results for any conflicts and then
click OK. At this point, the
contacts are added into ALB
and the client inception workflow automatically starts. From this
point on, the workflow governs what happens next. The activities you
are presented with are included in the workflow.
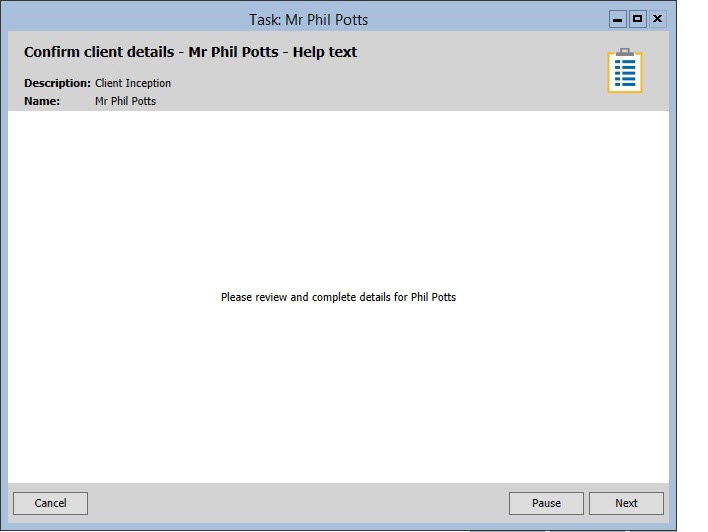
- When the Task
Pane opens, you are prompted to review and complete the details
of the contact(s).
Fig.
Confirm Client Details - Help Text screen
- Click Next
and follow the on screen prompts to perform these tasks:
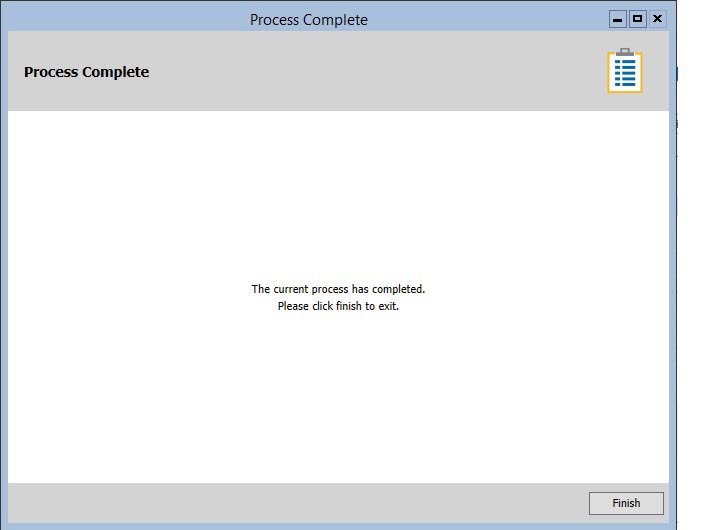
- When the Process
Complete screen opens, click Finish
to close the Task Pane. The
clients are now added into ALB
with an active enquiry and the Client Details screen is displayed
for all clients. As the clients are associated with an active enquiry,
an Enquiries tab is available in the Client Details screen for each
client that is linked. This shows the CMI
workflow.
Fig.
Process Complete screen
To
create a joint client:
The CMI application
allows you to add multiple contacts at the same time to create a joint
client using a single automated process. The following procedure explains
how to add contacts to achieve this.
- When the Add
New General Contact dialog box opens, under Contact
Type, select Multiple.
Fig.
Add New General Contact dialog box
- Enter the details of the first contact.
- Under Name,
type the contact's name and click Next.
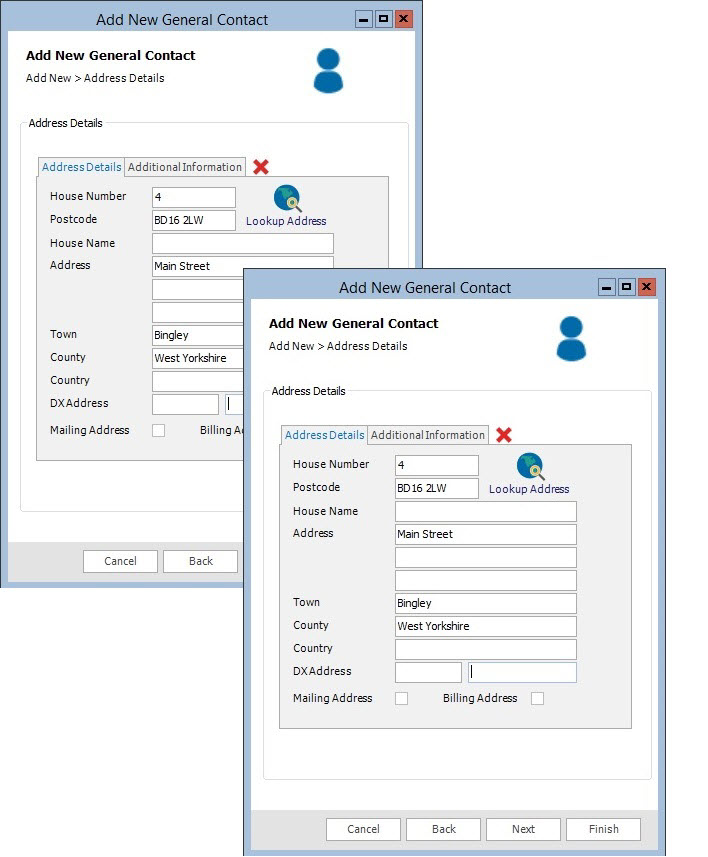
- Under Address
Details, type the address and click Next.
- Under Additional
Contact Info, type the contact details and click Next.
Fig.
Address Details & Contact Info dialog boxes
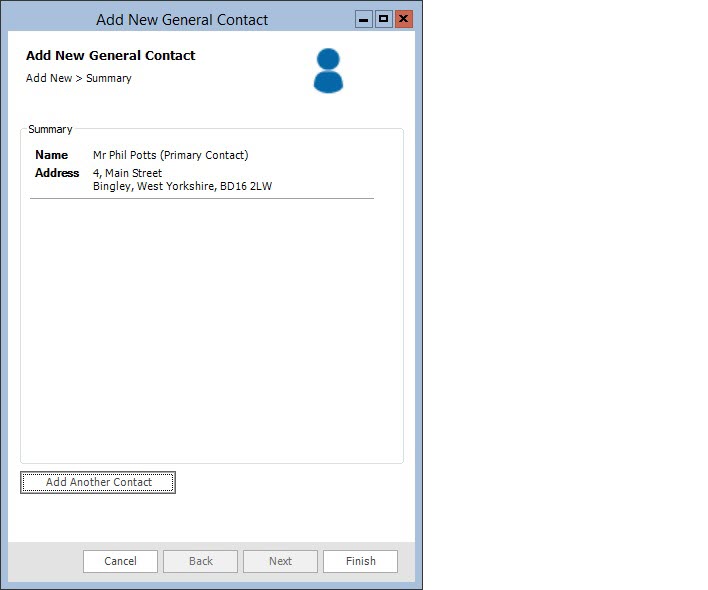
- Under Summary,
a list of the contacts that have been added is displayed. You now
have the option to add a further contact in order to create a joint
client.
Fig.
Summary dialog box (first contact)
- If you click Finish when adding
multiple contacts, then the client inception will not allow you
to add further contacts.
- Click Add
Another Contact and enter the details of the next contact.
- Under Name,
type the contact's name, relationship (e.g. spouse), and click
Next.
- Under Address
Details, tick Use same address as first address or type
a new address, and click Next.
- Under Additional
Contact Info, tick Same as first contact info or type new
details, and click Next.
- When you are finished, the Summary
is displayed again, showing that the second contact has been added.
Repeat step 4 until all contacts have been added.
Fig.
Summary dialog box (second contact)
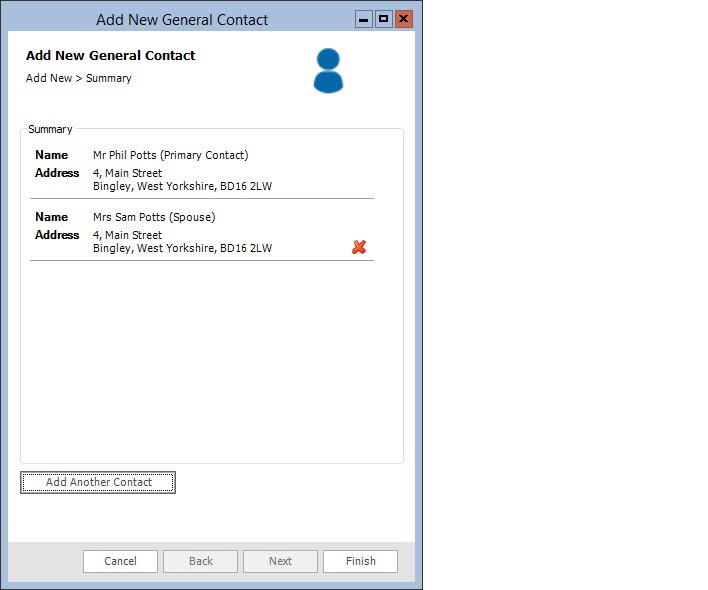
- If you want to remove any
contacts that you have already added, you can click the cross
icon next to the desired contact on the Summary view.
- Next, continue from step
3 in create a new client
above.
Notes
- When creating a client, a general
contact is created by default. This is then converted to a client
automatically by the client inception workflow.
- The Multiple option is only available
when the CMI
Starter Pack
is being used or you have built your own custom client inception workflow.
- The maximum number of contacts
that be added to a joint client is 20.